Orientation Discrimination Lesson 5
You will learn how to create time-varying stimuli, and how to produce interleaved stimuli at frame rate.
1ST-ORDER DRIFTING GABOR
This lesson makes the basic orientation discrimination task more elaborate by presenting a 1st order drifting Gabor stimulus onto a 2D noise background.
First, duplicate the original experiment, rename the copy to Orientation Discrimination 5, move it to the top of the Designer table. Reveal its whole hierarchy (Option-click its arrow).
Step 1. Create a Drifting Stimulus
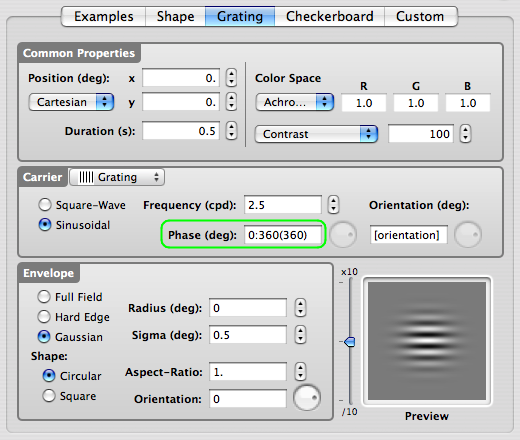
Rename the Gabor stimulus to Drifting Gabor. Edit the Drifting Gabor properties.
We are creating the drifting motion by specifying a time-varying spatial phase: enter 0:360(360) in the phase text field of the carrier as illustrated. This tells the phase to go from 0 to 360 deg (range defined by minimum and maximum values separated by ':' ) at a speed of 360 deg per second (speed defined between parentheses). This corresponds to a drifting speed of 1 cycle per second.
Click the OK button to validate the changes and return to the Designer panel.
Check & run the experiment now if you like to test it without the presence of noise background.
Tips: there are alternative ways to create a drifting Gabor using the Phase parameter:
- use explicitly the [TIME] variable: 360*[TIME] instead of 0:360(360) leads to the same smooth motion,
- use 0:4:270(0.125) for creating apparent motion: spatial phase jumps in a discrete manner through 4 steps, 0, 90, 180, 270 each presented for 0.125 second.
Step 2. Add a 2D Noise Stimulus
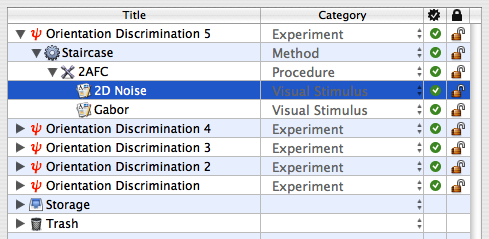
Similarly to what you've done in Orientation Discrimination Lesson 3, create a 2D noise stimulus with a radius of 2 deg. Name it 2D Noise and move it above the Gabor stimulus.
Step 3. Add a Dynamic Composing Event
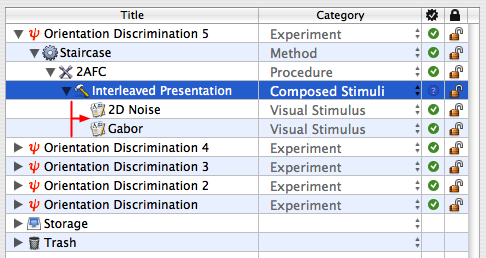
Select the 2AFC procedure, and insert a new group event using the '+' FOLDER icon. Set the name and category of this new event to Interleaved Presentation and Composed Stimuli, respectively.
Select the 2 stimuli 2D Noise and Gabor, and drag & drop them onto Interleaved Presentation, so they appear indented to the right.
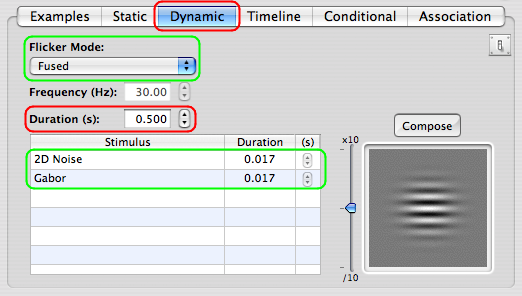
Edit the properties of the Interleaved Presentation event. Select the Dynamic tab.
Select the Fused option in the Flicker Mode popup menu, and set the overall Duration to 0.5 s.
The table presents the visual stimuli to be interleaved. Because of the selected Fused mode, their individual duration should correspond to the duration of a single display frame based of the display settings that applied to the currently edited Experiment event.
Note the Frequency text field that reflects the equivalent flickering frequency.
Click the OK button to validate the changes and return to the Designer panel.
Check & run the Experiment !
Conclusion
In this lesson, you learned how to create time-varying stimuli, and how to interleave stimuli at frame rate.