Getting Started with Psykinematix
Getting started with Psykinematix is easy. This first tutorial provides step-by-step instructions to install Psykinematix, perform the initial setup, and run experiments.
Installation
After downloading the Psykinematix.dmg file, locate it on your computer (on the desktop by default) and double-click on its icon.
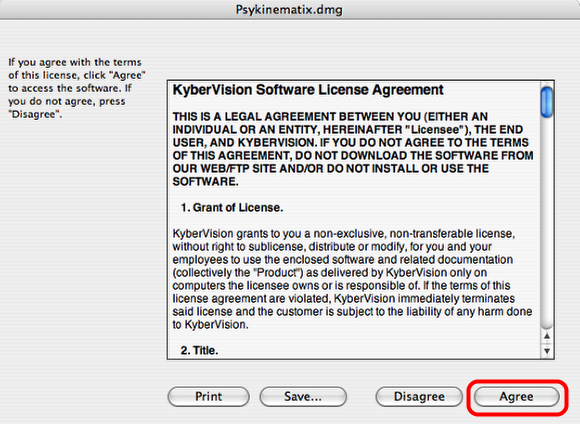
An installation window will open (it may have opened automatically after the download if your browser is configured to do so) and display the terms of the Software License Agreement.
Click on Agree if you agree with the terms of use.
To use Psykinematix, you must agree to these terms.
The DMG file is decompressed and then appears as an installation disk on your desktop. Double-click on its white icon to open it.
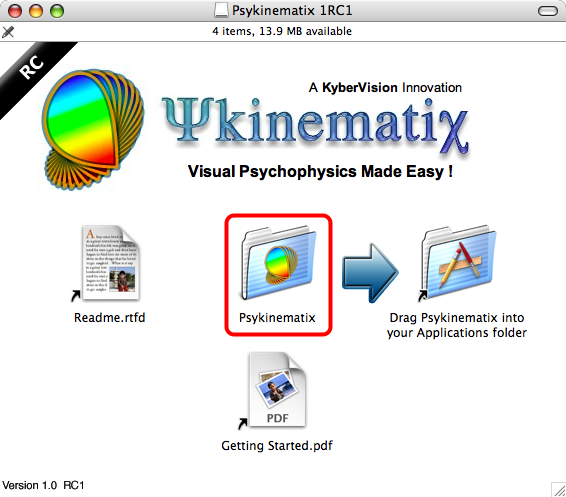
This installation disk contains a Psykinematix folder with the application and shortcuts to the documentation to get started.
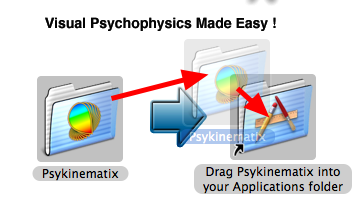
To install, simply drag the Psykinematix folder into the folder entitled Drag Psykinematix into Your Applications Folder (this is a shortcut to your actual Applications folder in your system partition).
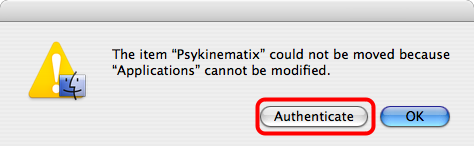
If you are not currently logged in as an Administrator, you need to authenticate to install Psykinematix in your computer's Applications folder. Click on Authenticate and type your Administrator name and password.
If you don't have Administrator access, you can still install Psykinematix by dragging the folder on your desktop. However, only you will be able to run Psykinematix.
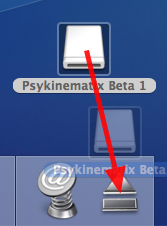
After the Psykinematix folder is copied onto your hard disk, you can eject the installation disk.
Keep the Psykinematix.dmg file to avoid downloading it again in case you need to reinstall Psykinematix.
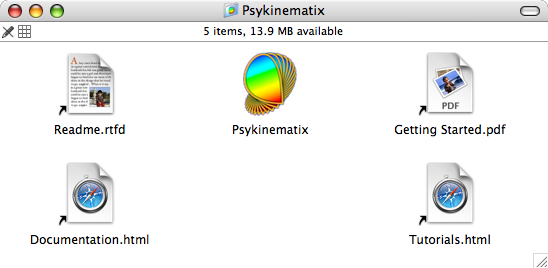
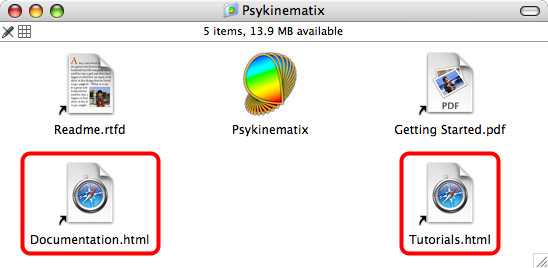
Locate the Psykinematix folder on your hard drive and open it. This folder contains:
- The Psykinematix application
- A readme file
- This tutorial, Getting Started,
- Shortcuts to the built-in HTML documentation and tutorials
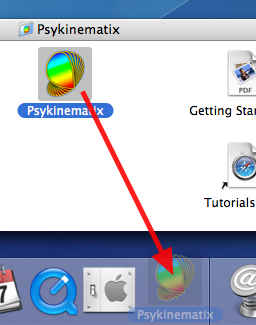
For easy access to Psykinematix, you may drag it to the dock.
Before launching the application, you should have a look at the Readme file to learn more about the latest system requirements and known issues. To launch Psykinematix, double-click on its icon inside the folder or click on its icon in the dock.
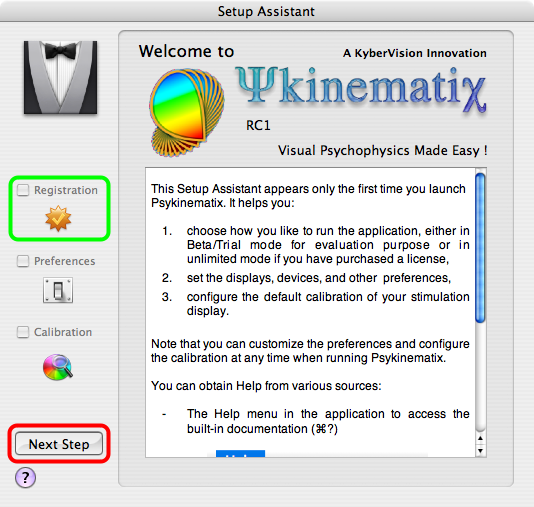
At first launch, you are presented with the Setup Assistant which helps you go through registration, preference selection, and calibration.
After reading the information about how to access the Help documentation, click on Next Step to start the registration process.
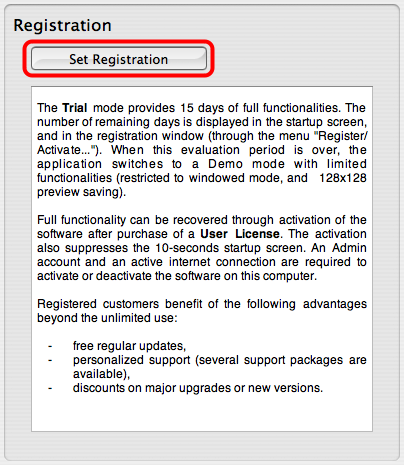
The registration process sets the mode in which the application is running. Psykinematix can run on a trial basis with full functionality for 15 days. After this trial period, it converts to a demo version with limited functionality. It can also be activated with unlimited and full functionality on purchase of a user license.
Click on Set Registration.
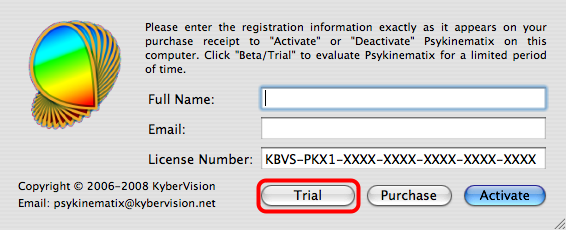
Click on Trial to activate the Trial mode. If you have already received your licensing information, fill in the name, email and license number and click on Activate; it will only take a few seconds to register and activate your copy through an internet connection.
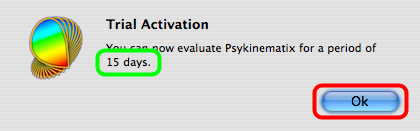
If you select the Trial mode, you are presented with a window indicating the number of remaining trial days. Click on OK to return to the main window.
Click on Next Step to move to Preferences.
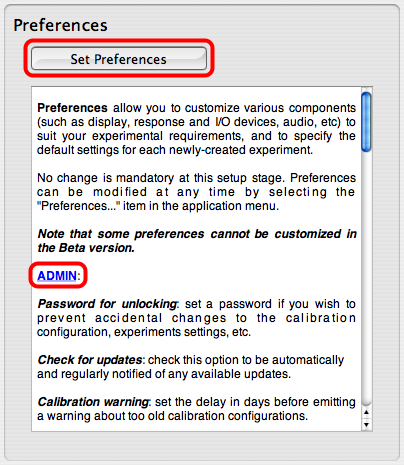
You are presented with a summary of the available preferences. You should go through each of the preference sets to get accustomed to them.
To modify or view the preferences in each set, click on Set Preferences or the blue links in the summary.
Note that you don't have to modify or check all the preferences immediately. You will be able to edit them at any time by selecting Preferences in the Psykinematix menu, or by pressing the "Apple-," keystroke.
When you have finished with the preferences, close the preferences panel and click on Next Step to move to Calibration.
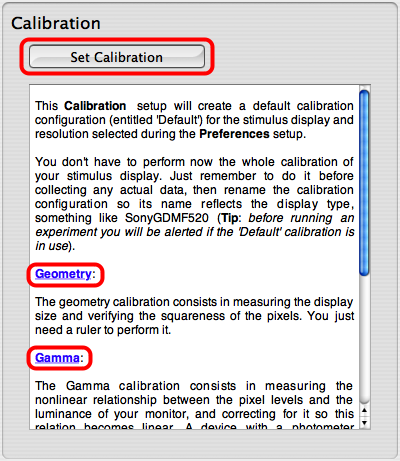
You are presented with a summary of the calibration process. You should go through each of the calibration stages to get accustomed to them.
To modify or view the calibration for each stage, click on Set Calibration or on the blue links.
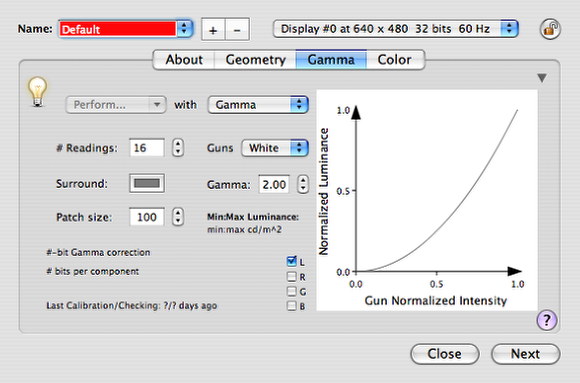
As with the preferences, you don't have to modify or check all the calibration configurations immediately. However, given the importance of the calibration process, Psykinematix comes with a dedicated tutorial.
When you have finished with the calibration, close the calibration panel and click on Next Step to move to the final setup window.
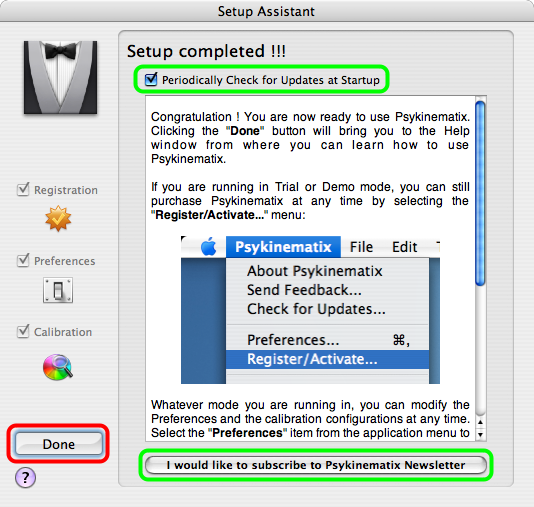
The last panel provides some final information and allows you to indicate whether to check for updates on a regular basis. We recommend leaving the box checked so you stay informed about the latest releases with bug fixes, enhancements, and new features. You can also subscribe to the Psykinematix Newsletter to learn about other related news (new tutorials, downloadable experiment and stimulus examples, etc.).
When you have completed the setup, click on Done. Don't worry if you have skipped some steps; you can always modify your Psykinematix setup later on. Note that if you quit the setup process before it is completed, none of the modifications will be saved so you will have to go through the Setup Assistant again at the next launch.
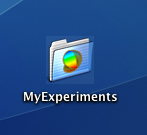
Note that at first launch, a folder entitled MyExperiments is also created on your desktop. This is where your experimental session files will be stored by default. Make sure to back up this folder regularly so you don't lose any experimental data!

After the Setup Assistant disappears or on subsequent launches, you are always presented with the Help panel. From the toolbar, you can access all other components of Psykinematix to perform experiment design, calibrate your display, manage subjects, groups and sessions, and plot and analyze session data.
Now it is time to learn how to use Psykinematix. The Help panel provides access to all the built-in documentation. To explore Psykinematix capabilities, select a section from the pop-up menu and follow the links according to your interests.
You can also browse the documentation from the HTML shortcuts available in the Psykinematix folder.
Starting with the tutorials is the best way to learn about Psykinematix in just minutes! You can access them in 3 ways:
1) Via the Tutorials HTML file in the Psykinematix folder
2) From the Help component shown above
3) From an online version of the tutorials which may be more up-to-date
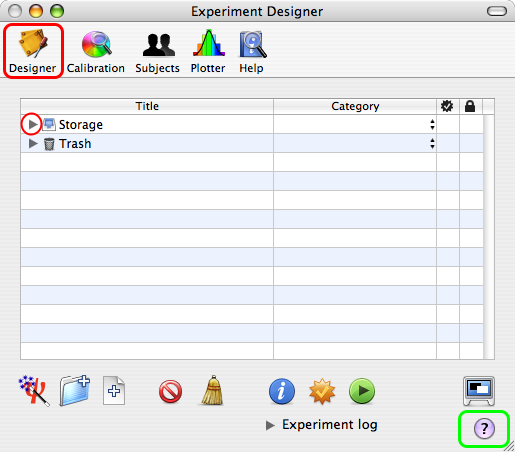
The Experiment Designer is the place where experiments are created and stored in Psykinematix. Some stimulus and experiment examples, located in the Storage area of the Designer panel, are already included. Click on the Designer icon in the toolbar to access the Designer panel, and then click on the small arrow in front of the Storage entry to reveal its contents (Tip: Press the Option key while clicking to expand the whole hierarchy).
Note the small question mark button (?) highlighted in green in the bottom right-hand corner: wherever this button appears, clicking on it provides contextual help through the Mac OS X Help Viewer application.
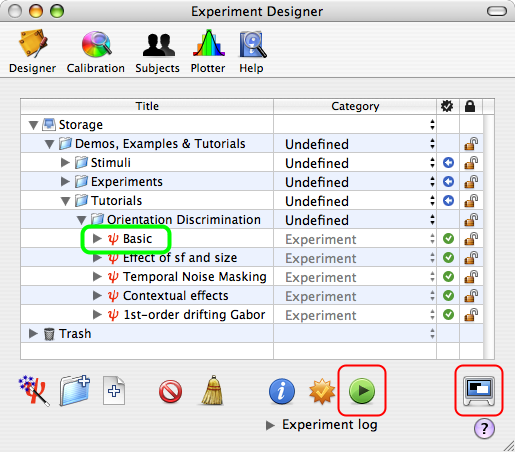
To test any of the provided examples, select the entry with a red psi mini-icon and click on the Run icon (Tip: Each type of event is associated with the particular mini-icon in front of it).
To abort any running experiment, press the Esc key of the main keyboard.
The last icon in the bottom toolbar allows you to switch between the windowed and the full screen mode when running an experiment (Note: Switching to full screen is disabled in the demo version).
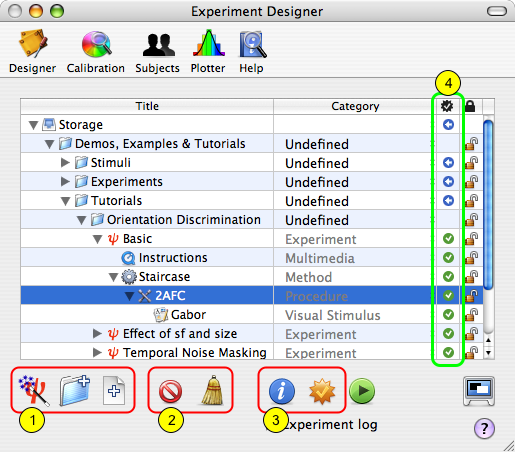
Other icons in the bottom toolbar allow you to:
1) Add new groups or simple events, or create "canned" experiments using the wizard tool
2) Delete the events or clean up the trash (Tip: Events are not immediately deleted but are simply moved to the trash)
3) Edit the event properties or check the validity of the experiment description (Tip: checking the experiment updates the status indicator (4) for each event to help with troubleshooting design or run-time problems)
Have a look at the other tutorials to learn how to design experiments using Psykinematix.